In a studio environment, the photographer has the flexibility to control the light, avoiding unnecessary glare. But shooting under sunlight has its specifics. Of course, glare can usually be removed or minimized in a photo editor, but do you need to painstakingly work on every shot? There are two ways to fix your photo without effort. First, use the service to remove glare to put the retouching in the hands of real experts. Second, prevent glare at the shooting stage. It is about this method that we will talk about in detail.
Features of bright light in photography
How bright light is displayed in a photo is somewhat different from the perception of the eye. Hard direct rays create sharp shadows and glare, take away the depth of the frame, and increase the color temperature (up to 7000 degrees Kelvin at noon). The higher the sun is above the horizon, the more pronounced these effects are. But that doesn’t mean you have to give up shooting during the day!
Looking for shadows
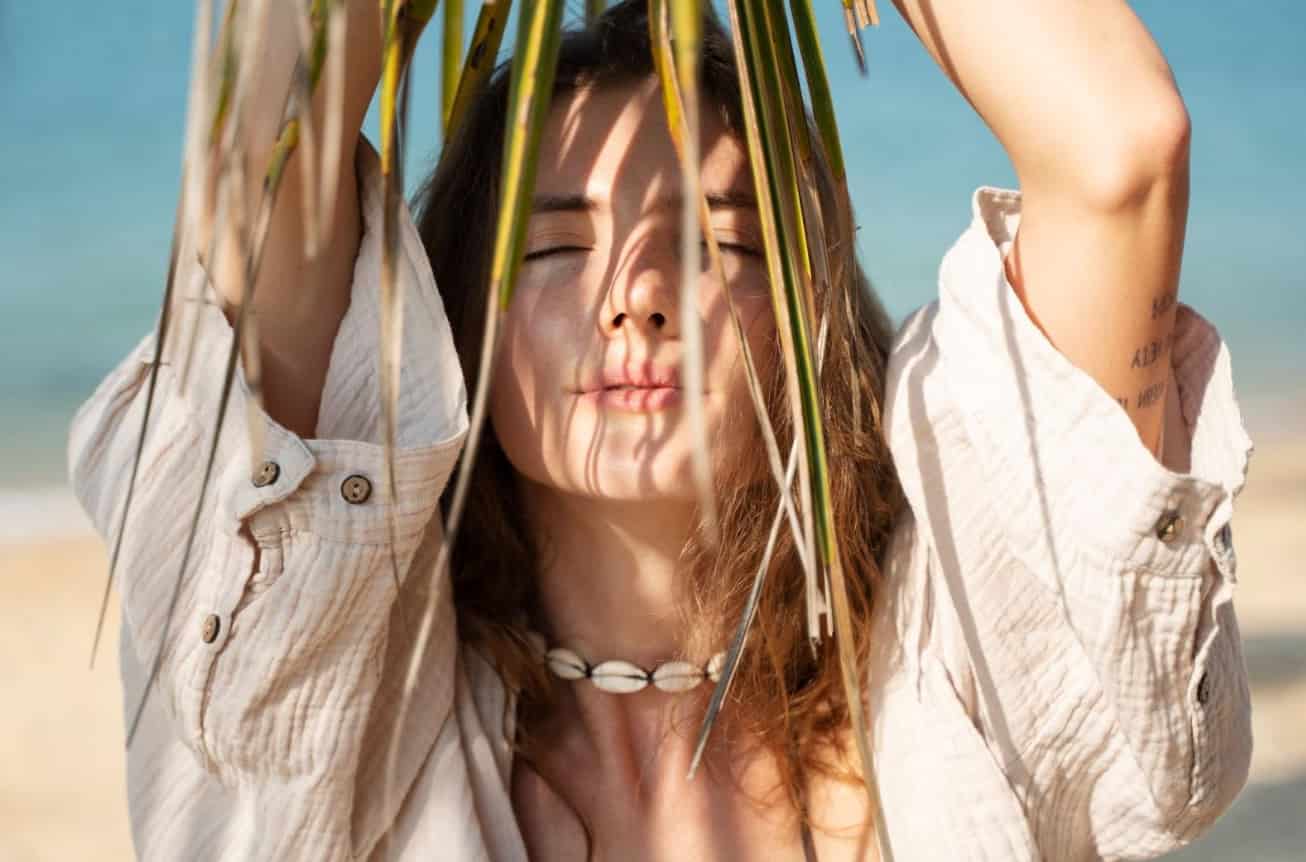
To diffuse and “filter” harsh light, you can look for places to shoot under trees, in the shade of bushes, or in tall grass. It’s important not to darken the frame too much – let it have a natural glow. This will not only avoid serious overexposure but will also add depth to the shot.
The source of shadow can also be buildings, awnings of street cafes, umbrellas, etc. If the shadow is thick and you want to make a portrait, suggest that the model use white clothes as a natural reflector. This will make the shot lighter but will help avoid glare on the face, jewelry, and accessories. Another option is to use a translucent element, which is usually included in 5 in 1 and 7 in 1 reflector kits. Cover a model or object with the screen to diffuse harsh sunlight.
Polarizing filters
This tool is more commonly used during subject photography when you want to remove glare from product packaging or utensils. But in fact, the field of application of polarizing filters for the camera is much wider. Such accessories are good in cases when you can not control the position of the object or are limited in this. The special coating of the filter removes glare from any materials and surfaces, except metal. The greatest effect is achieved if the light stream is perpendicular to the direction of shooting.
Lens hoods
It is not uncommon for flare to occur not on a specific surface, but directly in the lens design when direct sunlight hits the lens. This effect is called Lens Flare. Lens flare is especially noticeable if there are dust particles on the lens (which look like sun bunnies in pictures). Lens flare can also take on the appearance of haze, making photos appear faded, blurred, or over-lit. This effect can be used as an artistic technique, but if flare is undesirable, cover the lens with a lens hood, screen, or just your hand.
Lightboxes
When it comes to subject photography, which is generally characterized by glare, you can place the subject inside a lightbox. This will evenly distribute the lighting, making it soft and enveloping. In such conditions, even on glossy surfaces, there are no sharp reflections, and those minimal ones that do occur can be easily removed with a polarizing filter.
Conclusion
One last, universal tip: shoot in RAW format. It preserves the maximum information, so it’s easy to do deep processing of the photo without losing image quality.
Note that especially intense glare appears not only during the day but also at night, in conditions of artificial light. In this case, glare can become the photographer’s assistant, allowing to set accents and add charm to night shots. But if it is unwanted glare, you can try to get rid of it with a polarizing filter or simply change the shooting point.
Table of Contents