I will share my knowledge on how to use Composer to install a project along with all of its dependencies in this in-depth tutorial that is broken down into easy-to-follow steps. The process of maintaining libraries and packages can be made easier with the use of a program called Composer, which is a dependency management solution for PHP. This guide will help you learn how to use Composer efficiently, regardless of whether you are a software developer or someone who is interested in setting up a dedicated server in the Netherlands. I’ll also give you some advice based on my experience with Virtual Systems, which is a reputable web hosting service and where I housed my server. You can find dedicated server in Netherlands at Virtual Systems Hosting Provider.
Prerequisites:
Before we dive into using Composer, here are the prerequisites you should have in place:
- A dedicated server in the Netherlands or a server with a web hosting environment.
- SSH access to your server.
- PHP and Composer installed on your server.
Step 1: Connect to Your Server
To start, you’ll need to connect to your dedicated server in the Netherlands. Use SSH to access your server, like this:
ssh your_username@your_server_ip
Replace your_username with your server username and your_server_ip with your server’s IP address.
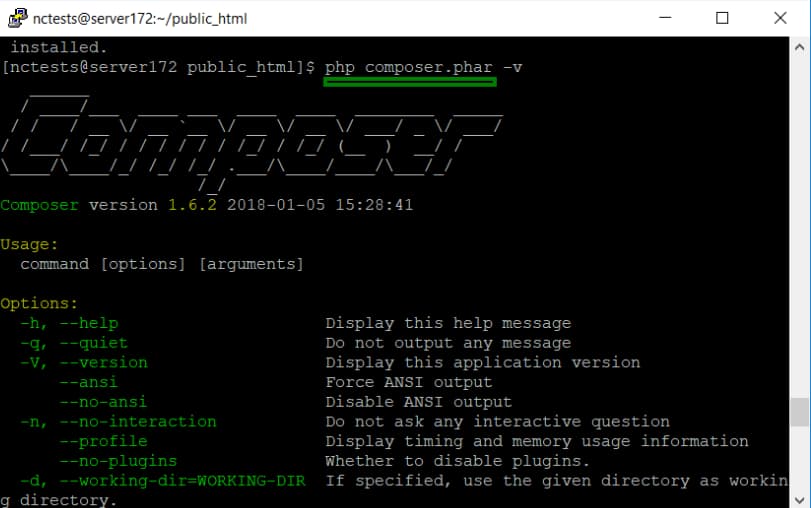
Step 2: Verify Composer Installation
Before proceeding, verify that Composer is installed on your server. You can do this by running:
composer –version
This should display the Composer version, confirming it’s installed.
Step 3: Create a Project Directory
Now, let’s create a directory for your project. You can do this with the following command:
mkdir your_project_directory
Replace your_project_directory with your project’s name or directory of choice.
Step 4: Navigate to Your Project Directory
Change to the newly created project directory:
cd your_project_directory
Step 5: Create a composer.json File
Composer uses a composer.json file to manage project dependencies. You can create this file by running:
composer init
Composer will prompt you to answer some questions about your project. Once complete, it will generate a composer.json file.
Step 6: Edit the composer.json File
To add dependencies to your project, edit the composer.json file with a text editor. You can use nano, vi, or any text editor you prefer. For example:
nano composer.json
Add your project’s dependencies under the “require” section in the JSON format. Here’s an example:
{
“require”: {
“vendor/package-name”: “1.0.0”,
“another-vendor/another-package”: “^2.1”
}
}
Make sure to replace “vendor/package-name” with the actual package name and version you want to install.
Step 7: Install Project Dependencies
Now that you’ve defined your project’s dependencies in the composer.json file, you can install them using Composer. Run the following command:
composer install
Composer will download and install all the required packages and libraries into a vendor directory within your project.
Step 8: Update Dependencies
Over time, package dependencies may change or receive updates. It’s essential to keep your project’s dependencies up to date. Use the following command to update your project’s dependencies:
composer update
This command will update the packages based on the version constraints defined in your composer.json file.
Using Composer with a Dedicated Server in the Netherlands:
I decided to host my dedicated server in the Netherlands with Virtual Systems due to their excellent service and robust infrastructure. Because of its consistently strong connectivity and extensive data center capabilities, the Netherlands is an excellent location for hosting websites. Virtual Systems provides a variety of possibilities for hosting, and one of those is the opportunity to investigate their dedicated server options.
Within the PHP ecosystem, Composer is an effective tool for managing the dependencies of individual projects. If you give these detailed instructions a careful read through, you will have no trouble installing a project along with all of its prerequisites on the dedicated server that you have in the Netherlands. Your development process will become more streamlined as a result of this strategy, and your project will always be kept up to date. If you are thinking about hosting a dedicated server in the Netherlands, my first recommendation would be Virtual Systems due to the exceptional quality of the hosting services they provide.
Table of Contents