Step-by-Step Guide to Editing Ads with CapCut Desktop
The videos need to be short, punchy, and visually captivating to grab attention in a matter of seconds. Whether you are advertising an item, service, or even your own brand, CapCut Desktop Video Editor enables you to create a quality advertisement without complex equipment. Fully equipped with built-in effects, transitions, templates, and even a voice changer, CapCut is your ad designer to not only make your videos look good but sound different.
In this post, we will show you how to edit ads with CapCut Desktop in 5 simple steps (from opening a project to exporting your final video).
Why Use CapCut for Ad Editing?
The ease of use and professionalism have made CapCut one of the most popular tools among creators and businesses in a short time. Unlike most of the editors that present users with a steep learning curve, CapCut allows them to create polished content in just a matter of minutes.
This is why it is a good option to create an ad:
Speed and efficiency – Sometimes the Ads are time-sensitive, particularly where there is a campaign or promotion. With a simplified interface, CapCut allows you to work much quickly without the loss of quality.
All-in-one solution – There is no need to use different applications to trim, audio, effects, and export. All is brought together on a platform.
Cross-platform compatibility – The ads created in CapCut are perfect for social media platforms such as TikTok, Instagram, YouTube, and Facebook.
Professional-quality output – Starting with high-definition exports all the way to high-end keyframe effects, CapCut remains not only an amateur-friendly tool but a full-scale video editing software.
Step-by-Step Guide to Editing Ads in CapCut Desktop
Here’s a detailed breakdown of how to create engaging advertisements using CapCut:
Step 1: Open CapCut and Create a New Project
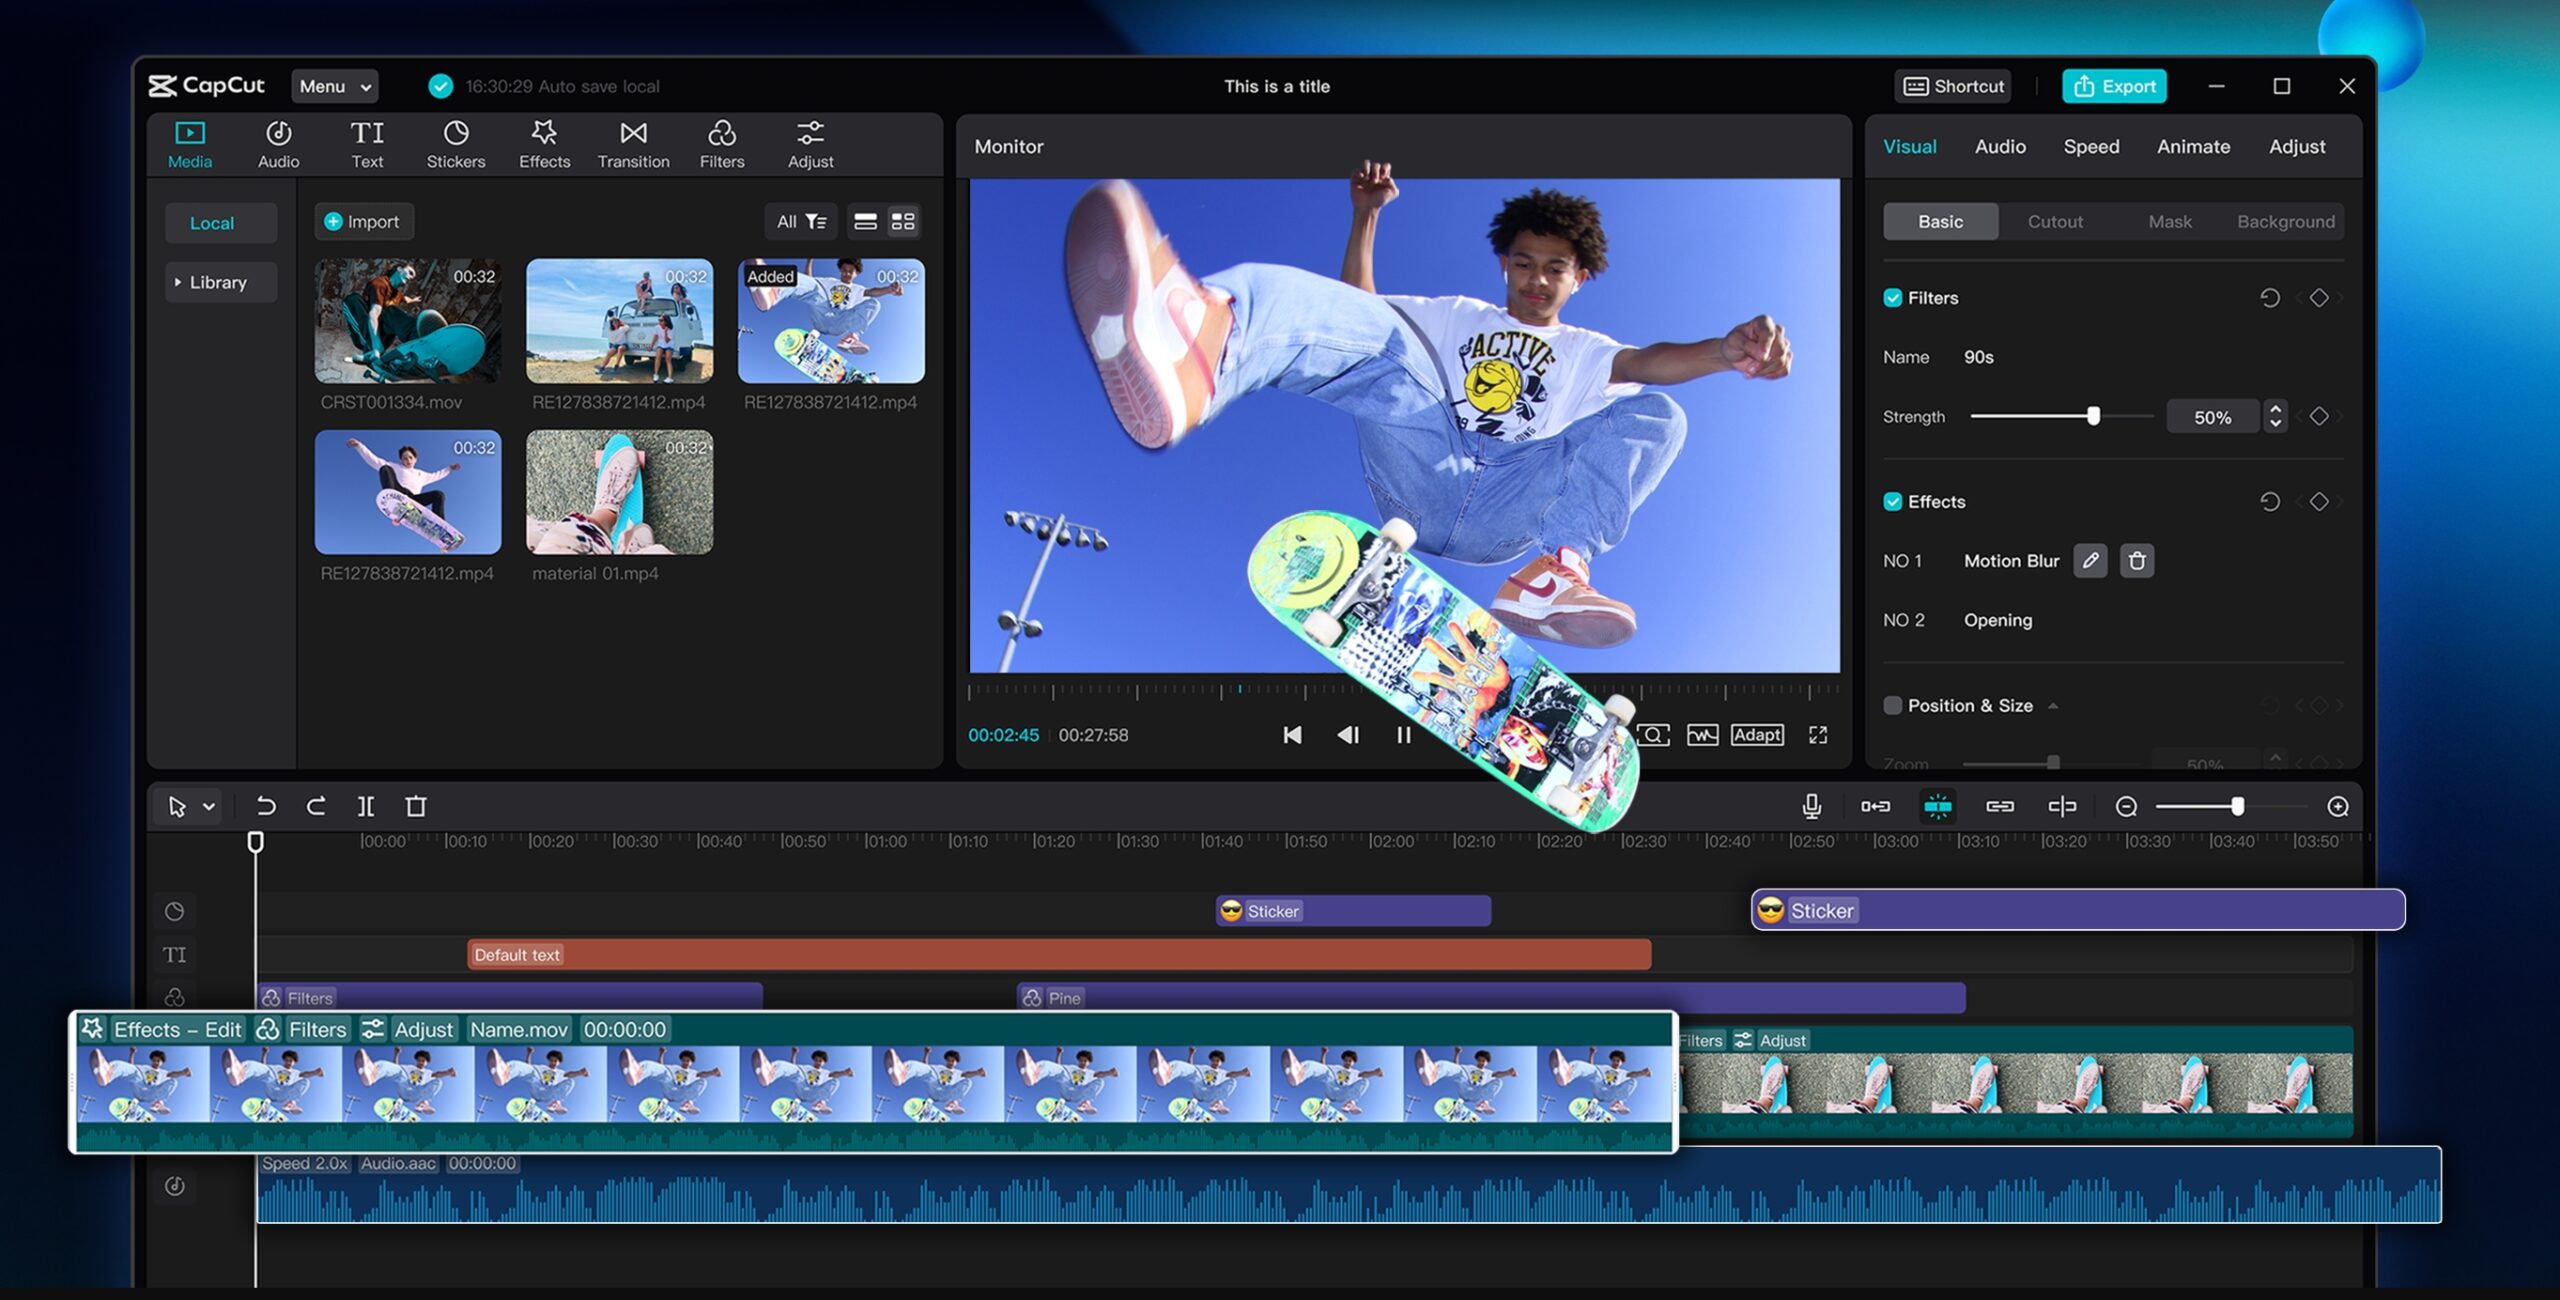
First, open CapCut on your computer. On the home screen, click “New project.” A window will open, which will allow you to pick the media files for your ad, such as product videos, lifestyle video clips, or promotional images. Select your files, and click “Open.” They will then be added to your media and be presented on the media panel on the left side of the screen.

Step 2: Add Media to the Timeline
When you have selected the clips or images that you want to use, simply drag them from the media panel to the timeline at the bottom of the screen. Arrange them in the best order for your story. For example, you may want to start with a lifestyle shot, move to the product demo, and finish with a call to action image.
If you want to trim a clip, you can drag one of the sides of the clip. You can also split clips with the scissors icon. If you want to use an overlay (like a product logo or a banner), you can select additional tracks above your sequence.

Step 3: Add Text and Branding Elements
Branding is so important, especially in advertising. Click “Text” from the top menu and select “Add text.” Type your advertising copy; for example, “50% Off Today Only” or “New Collection Launch.” You can customize your text by editing the font family, font size, and color palette.
You can also select from them. animation styles like “Typewriter,” “Bounce,” or “Fade In,” if you’d like to add additional pop to your promotional message. For brand logos, you can import the image into your media panel and drag it to a new track on the timeline, above the video layer.

Step 4: Music, Voiceovers, and Effects
Sound design and music are essential to making advertising sticks! Click on “Audio” at the top to find CapCut’s royalty-free music library or “Import” your jingle or other soundtrack, and drop it on the timeline. From there, fit it to the length of your video and trim, whatever you need to do.
If you require a voiceover for your ad, you can also record it right in CapCut, using the voiceover function. If you are looking for something a little more creative, let the voice changer give your narration a different flavor–perfect for adding humor, drama, or a branding identity to your ad.
Now, take a look at “Effects” and “Transitions.” Effects are just for fun! Transitions help to keep your ad from being “jumpy,” which can keep it looking smooth and professional. Try different styles until you land on what you feel matches your message.

When you’re happy with your edit, simply click “Export” in the top right-hand corner, and the export settings window will pop up. Specify your file name, format, resolution, and save location.
For most ads, the MP4 format is your best bet, and for resolution, 1080p (HD) is recommended. If it is a campaign that will be shown on big screens or a YouTube ad, it is best to select 4K for the highest quality. Once you are ready, click “Export” once more, and CapCut will process your ad.

And if your ad relies heavily on images, using an online photo editor before importing them into CapCut ensures your visuals are sharp, color-corrected, and perfectly sized for your video. This combination results in professional, polished ads that stand out.
Thanks to CapCut Desktop Video Editor, creating stunning ads is no longer limited to professional studios. By following five easy steps—starting a project, organizing media, adding branding, adding audio and effects, and exporting—you, too, can create ads that grab attention and convey a message.
With its easy-to-use design, advanced tools, and custom creative features, CapCut is an essential tool for businesses, marketers, and content builders looking to partner their advertising campaign with success. Anyone can achieve their objectives—whether to boost sales, promote a product, or elevate brand awareness, with creative ads that are easy to control with CapCut.